It’s a common complaint (or misconception?) that Android devices are power hungry, and some people claim not to manage a full working day from their smartphone.
By my reckoning default system settings and apps are often configured to showcase capabilities, rather than optimise usage and resources for individual needs. With a few minor tweaks you can reduce overall power consumption and in some cases gain hours extra battery life.
First of all I hope it goes without saying that you should switch off connectivity features that you’re not actively using. You wouldn’t leave a light on at home all day, and in the same way being conscientious about managing Wi-Fi and Bluetooth connections can make a big difference to the power consumption of your device.
I don’t generally use Wi-Fi when I’m away from home, so I use an event driven task manager (Locale) to automatically switch Wi-Fi off for me when I leave my home geo-fence.
For when you do use Wi-Fi, check that you’re using these settings:
Settings > Wi-Fi > Advanced > Network notification > OFF
Settings > Wi-Fi > Advanced > Wi-Fi optimisation > ON
Most people rarely (if ever) use the NFC or Android Beam feature, so don’t leave it switched on permanently:
Settings > Wireless & Networks > More > NFC > OFF
If like me you travel on public transport then your device will frequently leave cellular network coverage. When this happens it will scan frequency ranges for available operators and consume significant battery resources in doing so. Below are some tricks that help to minimise this.
Unless I travel abroad I spend all my time on my home cellular network, so I manually select my mobile operator to prevent unnecessary registration attempts:
Settings > More > Mobile networks > Network operators > Search networks > manually select your mobile network operator
I also lock my device to use WCDMA (3G) only so it doesn’t try scanning the GSM (2G) bands. This is a bit extreme, but if you want to do this use the Android Field Test menu:
Go into the Phone app and tap in this code: *#*#4636#*#*
You will be presented with a ‘Testing’ screen. Tap on ‘Phone information’, scroll down to ‘Set preferred network type:’ and select WCDMA only.
This network settings change will remain until you next power-cycle your device.
Sound and display settings can also make an appreciable difference if you spend a lot of time tapping away on your device. Since haptic feedback uses a tiny vibration motor, switching it off altogether can save precious battery power. Using a static image for your background instead of a fancy ‘live’ wallpaper also saves CPU cycles.
Settings > Sound > System > Dial-pad touch tones > OFF
Settings > Sound > System > Touch sounds > OFF
Settings > Sound > System > Screen lock sounds > OFF
Settings > Sound > System > Vibrate on touch > OFF
Settings > Display > Brightness > Automatic
Settings > Display > Wallpaper > choose a static wallpaper
GPS and location lookups are a big cause of battery drain. If you only want to know your location when you actually need it, switch off Google’s location tracking and the location feature of any other apps you have installed:
Apps > Google Settings > Location > Location History > OFF
Apps > Twitter > Settings > Location > OFF
Popular apps like Play Store and Twitter usually default to synchronising data in the background. If you’re only interested in checking for updates when you open an app, switch off notifications and background usage:
Apps > Play Store > Settings > Notifications > OFF
Apps > Play Store > Settings > Auto-update apps > OFF
Settings > Accounts > Google > disable any data synchronisation that you don’t use
Apps > Twitter > Settings > (account) > Sync data > OFF
Apps > Twitter > Settings > (account) > Notifications > OFF
Finally review your widgets and remove those that you don’t need. Often replacing a widget with a shortcut to the app is just as effective and much more power efficient.
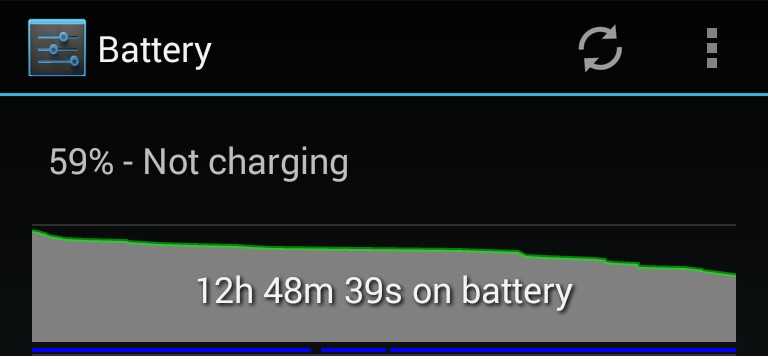
By using all these optimised settings I easily manage 24 hours from my device, with no compromise in functionality of performance.
