Gmail style ‘plus’ email aliases in Office365

It’s an often used feature of Gmail to append a ‘+’ (plus) to an email address to create an unlimited number of instant email aliases – see Gmail Blog for an explanation. I gather this is also a feature of Outlook.com, but the same does not apply for hosted domains on Office365. The same can however be achieved with a bit of configuration.

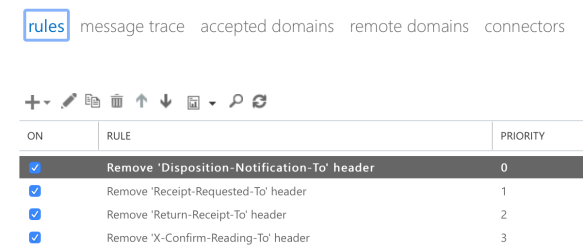
Go to Exchange Admin Centre > mail flow > rules and create a new rule as follows:

Create this rule… The sender is located… Outside the organization

and The recipient address matches… ^yourname\+[\w-]+@yourdomain.com

(For example, if your usual email address is david@yourdomain.com then the rule should match ^David\+[\w-]+@yourdomain.com)

Do the following… Redirect the message to… <select your user>

(The [\w-]+ regular expression will match one or more alphanumeric or hyphen characters).

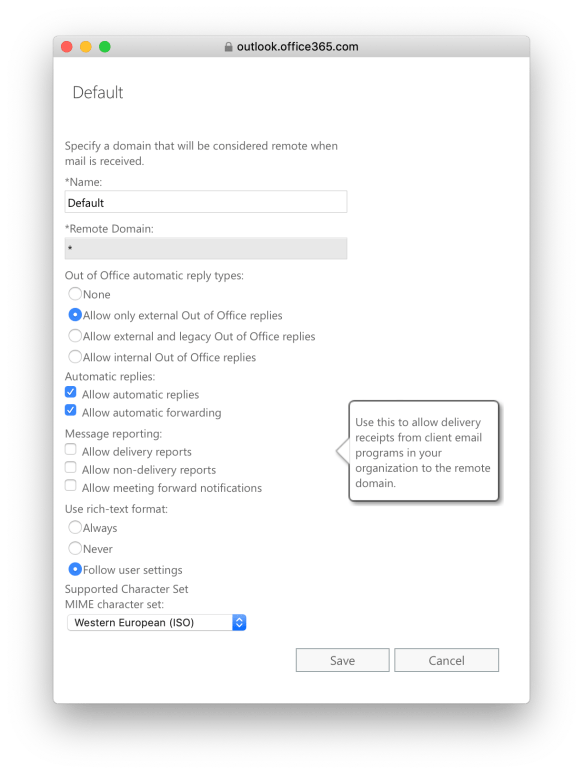
Next choose the ‘external domains’ tab, select your domain and make sure that the domain type is set as an Internal Relay.

Now that this domain is an internal relay, we’ll need an extra rule to bounce email addressed to unknown recipients more gracefully (instead of looping internally).

Add this as your last mail flow rule:

Create this rule… The sender is located… Outside the organization

Do the following… Reject the message with the explanation… ‘User unknown’

Except if… The recipient is a member of… <select all the valid users>

You will now receive email addressed to david+anything@yourdomain.com in your regular inbox.

Disabling delivery and read receipts in Exchange Online

The default configuration for Office 365’s Exchange server is to automatically respond to requests for mail delivery reports. If like me you don’t want to divulge this information then here is what you need to do.

Follow these steps to block all forms of email delivery and read receipts …

Exchange Admin Centre > mail flow > remote domains > Default 
Untick 'Allow delivery reports' and 'Allow non-delivery reports'
Save
Screenshot 2019-06-07 at 09.38.39.png
 
Next create four separate mail flow rules to remove these mail headers:
 
Disposition-Notification-To
Return-Receipt-To
Receipt-Requested-To
X-Confirm-Reading-To
 
Exchange Admin Centre > mail flow > rules > +
Create a new rule > More options...

Apply this rule if... The Sender is located... Outside the organization
Do the following... Modify the message properties...
Remove a message header (paste a header as above)
Save
You should end up with four rules like these:
 
Screenshot 2019-06-07 at 09.39.06.png
 
Those mail flow rules should strip out the headers and block read receipts before they reach a recipient’s mailbox, but just to be sure:
 
Outlook > Settings > View all Outlook settings > Email
Message handling > Read receipts > Never send a response
Save
Screenshot 2019-06-07 at 10.01.42.png

Configure exim4 to use an O2 mail relay

To configure exim4 to use O2’s SMTP server for outbound mail:

(As root) edit /etc/exim4/passwd.client and add your O2 portal authentication credentials.

See ‘man exim4_passwd_client’ for how exim4 parses this file.

Note that smtp.o2.co.uk resolves to the IP address 82.132.141.69, but the reverse DNS for that IP address resolves to mail.o2.co.uk, so you will need to use that name in passwd.client.

The line in passwd.client should look something like this:

mail.o2.co.uk:yourname@o2.co.uk:your_password

O2’s mail servers don’t support TLS so you will need to add the following line to /etc/exim4/exim4.conf.localmacros (just create the file if it doesn’t exist already)

AUTH_CLIENT_ALLOW_NOTLS_PASSWORDS = true

This allows passwords to be sent over an insecure connection. It’s far from ideal but nothing can be done until O2 supports TLS.

Finally run ‘dpkg-reconfigure exim4-config’ to update the mail server configuration.

Select ‘mail sent by smarthost; received via SMTP or fetchmail‘ and when it asks for the smarthost address use smtp.o2.co.uk.

You should now be sending email using O2’s smarthost.

Check /var/log/exim4/mainlog when sending mail to confirm that everything is OK.

Sending email from an O2 Broadband connection

There are many options for sending email from an O2 Home Broadband connection:

  • If you have a static IP address (provided free with ‘The Works’ package or as a cost option in other packages) and you have access to a third party mail relay (e.g. SMTP2Go or AuthSMTP), you can connect directly to the external SMTP server on port 25
  • If you have a regular dynamic IP address then you can still connect to an external mail relay, but O2 blocks port 25 (SMTP) and so you will have to connect on port 587 (message submission)
  • Use the O2 Broadband mail relay – relay.o2broadband.co.uk – this will only accept mail from your broadband connection and will not work when outside of your home network
  • Use the O2 Mobile Data mail relay – smtp.o2.co.uk – you will need to authenticate yourself using your O2 portal username and password

If using smtp.o2.co.uk then you will also need to authenticate yourself using your O2 portal username and password. Note that even if using your own domain name your O2 username will also be made visible to the recipient in the mail headers, e.g.

Received: from yourhost.example.com by mail.o2.co.uk (8.5.119.05) (authenticated as yourlogin@o2.co.uk)

O2’s mail servers do not support SSL/TLS and so you will need to specify an insecure connection when configuring your mail client.

In the Windows Mail client go into the mail account properties and under the Outgoing Mail Server settings in the Servers tab tick the box next to ‘Outgoing Mail Server: My server requires authentication’. Go into these settings, fill in the account name and password with your O2 portal credentials and make sure that ‘Log on using Secure Password Authentication’ is NOT checked. In Advanced settings make sure that ‘This server requires a secure connection (SSL) is NOT checked.

For Unix users I have provided instructions for configuring exim4 to use an external smarthost in a separate post.